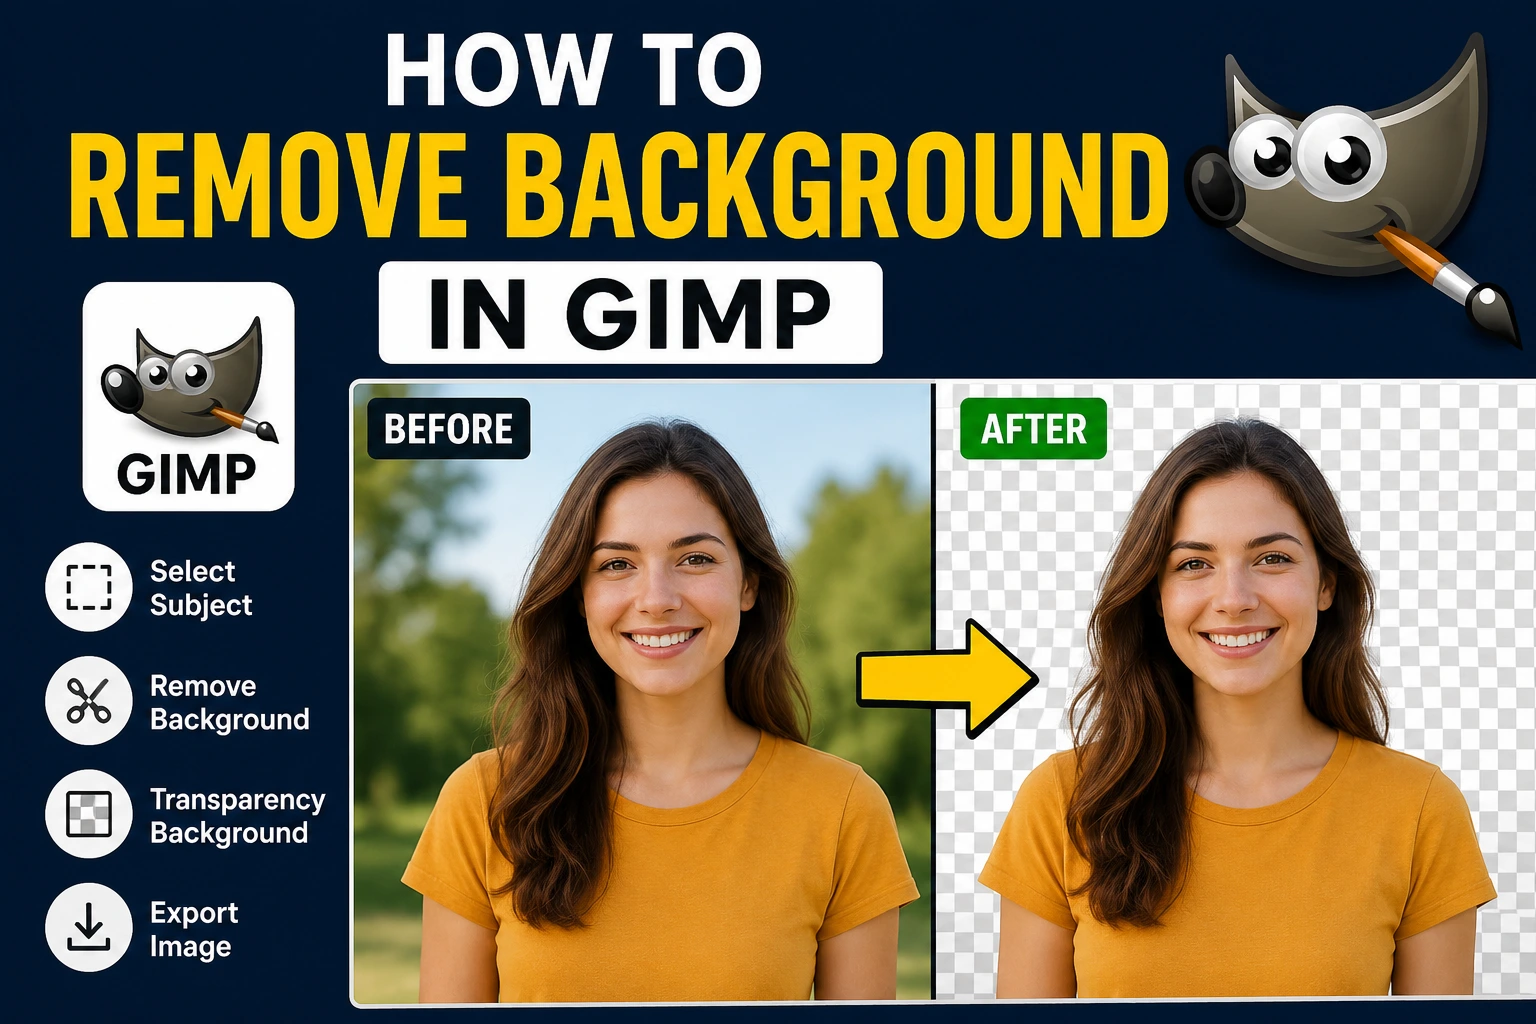
How to Remove Background in GIMP: Complete Step-by-Step Guide
If you have ever needed to remove a background from a photo for a website, a product listing, or a design project, you have probably searched for a free tool that can do the job without a monthly subscription. GIMP is exactly that tool. It is a free, open-source image editor that gives you full control over how you remove backgrounds, without watermarks or file limits. Many people want to learn how to remove background in GIMP because it saves money compared to paid software, and it works on Windows, Mac, and Linux. GIMP offers several different tools for this task, from simple one-click selections to detailed path-based cutouts for complex images.
In this guide, you will learn several practical methods for removing backgrounds in GIMP, including selection tools, path tools, layer masks, and transparency settings. By the end, you will know which method fits your image best, whether you are working with a simple product photo or a detailed portrait.
What Is GIMP and Why Use It for Background Removal?
GIMP stands for GNU Image Manipulation Program. It is a free, open-source photo editing application that has been developed and improved by a community of contributors for many years. It is often described as a free alternative to Adobe Photoshop, and it includes many of the same core features, including layers, selection tools, filters, and masking options. Many beginners compare different editing programs before choosing the right tool for their creative projects.
Designers and hobbyists like GIMP because it does not require a subscription and runs well on most computers. It supports a wide range of file formats, works with layers in a similar way to professional software, and includes advanced selection tools that make background removal possible without needing extra plugins.
When comparing GIMP with paid editing tools, the biggest difference is cost and licensing. Paid tools often include more automated features, such as one-click background removal powered by artificial intelligence. GIMP requires a bit more manual work, but it gives you precise control over every pixel, which is valuable for anyone who wants accurate, customized results rather than relying on automatic guesses.
What You Need Before Removing a Background in GIMP
Before you start, it helps to prepare a few things so the process goes smoothly. First, make sure you have installed the latest version of GIMP from its official source. Newer versions include improved selection tools and a more stable interface, which makes background removal easier and more accurate.
Next, choose a high-quality image to work with. Photos with clear edges, good lighting, and a visible contrast between the subject and the background are much easier to edit. Preparing a high-quality image preparation before editing can make background removal faster and produce cleaner results. Blurry or low-resolution images tend to produce rough, uneven edges after the background is removed.
It is also a good habit to create a backup copy of your original image before making any changes. This way, if something goes wrong during editing, you can start over without losing your original file. Understanding how layers work in GIMP is equally important, since most background removal techniques rely on separating your subject from the background using layers and transparency.
Image quality plays a direct role in how clean your final result looks. A sharp photo with good lighting allows tools like the fuzzy select tool or the paths tool to detect edges more accurately, while a grainy or poorly lit photo can lead to jagged lines and missed details.
How to Remove Background in GIMP Using the Fuzzy Select Tool
The fuzzy select tool is one of the fastest ways to learn how to remove background in GIMP, especially when your image has a solid or simple background. This tool selects areas of similar color, which makes it ideal for product photos or images with plain backgrounds.
To begin, open your image in GIMP by going to the file menu and selecting open. Once your image is loaded, add an alpha channel by right-clicking the layer in the layers panel and choosing add alpha channel. This step allows areas of the image to become transparent once removed.
Next, select the fuzzy select tool from the toolbox. Click once on the background area you want to remove. You can adjust the threshold setting in the tool options to control how much of the surrounding color gets selected. A higher threshold selects a wider range of similar colors, while a lower threshold keeps the selection more precise.
After selecting the background, press the delete key to remove it, revealing the transparent checkered pattern underneath. If some areas were missed, hold shift and click on those spots to add them to your selection before deleting again. Once you are satisfied with the result, export your image as a PNG file to preserve the transparency.
This method works best when the background is a single solid color, such as white, gray, or a plain studio backdrop. It is not the best choice for busy or textured backgrounds, since the tool may struggle to separate similar colors between the subject and the background.
How to Remove Background in GIMP Using the Paths Tool
For images with detailed subjects or complex backgrounds, the paths tool offers a more professional way to remove background in GIMP. This method takes more time than the fuzzy select tool, but it produces smoother, more accurate results, especially around curved or irregular edges.
To start, select the paths tool from the toolbox. Click along the edge of your subject to create anchor points, following the outline as closely as possible. You can click and drag to create curved segments, which is useful for rounded shapes like shoulders, faces, or product edges.
Once you have traced around the entire subject and connected the path back to the starting point, convert the path into a selection. This is done through the select menu by choosing the option to convert the current path into a selection. From there, you can invert the selection so that the background, rather than the subject, is selected.
With the background selected, press delete to remove it, just as you would with the fuzzy select tool. Because the paths tool allows precise, hand-drawn outlines, designers often prefer it for images with fine details, uneven lighting, or backgrounds that are similar in color to the main subject.
How to Make Background Transparent in GIMP
Once you understand the basic selection tools, the next step is learning how to make a background fully transparent so your image can be used on websites, social media graphics, or design projects without a visible background.
Start by adding an alpha channel to your layer, since transparency cannot be applied without it. After removing the unwanted background area using a selection tool of your choice, check that the area shows the gray and white checkered pattern, which indicates transparency rather than a solid color.
Before exporting, zoom in around the edges of your subject to check for leftover background pixels or faint color halos. These small details are easy to miss but can make a big difference in the final image. Once everything looks clean, export the file using the export as option and choose PNG format, since PNG files support transparency while formats like JPEG do not.
A common mistake beginners make is exporting the file as a JPEG, which automatically fills transparent areas with a solid color, usually white. Another common issue is forgetting to flatten unrelated layers, which can cause unexpected results in the exported file. Taking a moment to double check these settings can save you from having to repeat the entire process.
How to Remove White Background in GIMP
White backgrounds are extremely common in product photography, and GIMP offers a few different techniques to handle them efficiently. The color select tool works well here, since it allows you to click on the white area and select all pixels of a similar shade throughout the image, even if they are not directly connected.
The fuzzy select tool can also be used for white backgrounds, particularly when the white area is a single connected region. Since white backgrounds usually offer strong contrast with most subjects, this tool tends to produce clean results with minimal adjustment needed to the threshold setting.
For more advanced control, layer masks allow you to hide the white background without permanently deleting it, which is useful if you want to make adjustments later. This method takes a bit more setup, but it offers flexibility that simple deletion does not provide.
For logos and simple product images with a plain white background, the color select tool or fuzzy select tool is usually enough to get clean results quickly. For more detailed images, such as photos with soft shadows or reflective surfaces, layer masks tend to give smoother, more professional-looking edges.
How to Use Layer Masks for Non-Destructive Background Removal
Layer masks are one of the most useful features in GIMP because they let you hide parts of an image without actually deleting any pixels. This means you can always go back and adjust your work later, which is especially helpful when you are not completely sure about your selection yet.
A layer mask works by using black and white values to control visibility. Painting with black on the mask hides that part of the layer, while painting with white reveals it again. This makes it easy to fine-tune edges around hair, fur, or other detailed areas that are hard to select perfectly the first time.
To get started, right-click your layer in the layers panel and choose add layer mask. Select a paintbrush tool and set your foreground color to black, then paint over the areas of the background you want to hide. If you accidentally hide part of your subject, simply switch to white and paint back over that area to restore it.
This approach is especially useful for beginners who are still learning how to remove background in GIMP with precision, since mistakes are easy to fix without starting the entire selection process over again.
Best GIMP Tools for Background Removal
GIMP includes several tools that are useful for background removal, and knowing when to use each one can save you a lot of time. The fuzzy select tool works best for images with solid, simple backgrounds where color contrast is high.
The free select tool, sometimes called the lasso tool, allows you to manually draw around a subject using straight lines or freehand strokes. This is useful for images where automated tools struggle to detect clear edges. The paths tool, as covered earlier, is ideal for detailed, curved subjects that require a precise outline.
The foreground select tool is designed specifically for separating a subject from its background using a guided selection process, which can be helpful for portraits or images with moderately complex edges. Layer masks, meanwhile, are best used when you want a flexible, non-destructive workflow that allows ongoing adjustments.
Finally, the eraser tool can be used for small touch-ups after your main selection has been made, particularly for cleaning up stray pixels or smoothing rough edges. Each of these tools serves a different purpose, and combining them often produces the best results.
Common Problems When Removing Backgrounds in GIMP
Even with the right tools, background removal can come with a few common challenges. Rough or jagged edges are one of the most frequent issues, often caused by low image resolution or an overly high threshold setting on the fuzzy select tool.
Missing details, especially around hair, fur, or thin objects like jewelry, can also be tricky to handle. These areas require more patience and often benefit from a combination of tools, such as using the paths tool for the main outline and a layer mask for fine details around edges.
Incorrect selections can happen when the background and subject share similar colors or lighting. In these cases, zooming in and adjusting your selection tool settings, or switching to a more manual method like the paths tool, usually produces better results.
Image quality problems, such as blurriness or compression artifacts, can limit how clean your final cutout looks no matter which tool you use. Starting with a higher-resolution image whenever possible is one of the simplest ways to avoid many of these issues from the beginning.
Tips for Better Background Removal Results
A few practical habits can make a noticeable difference in the quality of your background removal work. Using high-resolution images gives your selection tools more detail to work with, which leads to cleaner edges and fewer visible mistakes.
Zooming in while working on edges allows you to catch small errors that are easy to miss at a normal viewing size. This is especially important around curved areas or fine details, where even a few stray pixels can make the final image look unfinished.
Feathering your selections slightly before deleting the background can help blend the edges more naturally, avoiding a harsh, cut-out appearance. Taking time to refine edges, whether through the select menu options or manual touch-ups with the eraser tool, often makes the biggest visible difference in the final result.
Finally, save your project file in the native GIMP format before exporting your final image. This allows you to return to your layers and selections later if you need to make further adjustments, rather than starting the entire process over from scratch.
GIMP Background Removal vs Online Background Removers
Online background removers have become popular because they are fast and often require just a single upload. However, they come with trade-offs that are worth considering, especially for anyone who wants control over the final result or works with sensitive images.
In terms of control, GIMP gives you full manual input over every selection, allowing you to fine-tune specific areas that automated tools might get wrong. Online tools rely on automated detection, which can struggle with complex images, fine details, or unusual lighting conditions.
Privacy is another important factor, since many online background removers require uploading your image to an external server. GIMP processes everything locally on your own computer, which can be a meaningful advantage for anyone working with private or professional images.
Cost is where online tools sometimes win in convenience, though many limit free usage or charge for higher resolution downloads. GIMP is completely free with no limits, though it does require more time and a small learning curve. For a professional workflow that values accuracy and long-term flexibility, GIMP remains a strong choice, while online tools are often better suited for quick, low-stakes edits.
Conclusion
Learning how to remove background in GIMP does not have to be complicated once you understand the basic tools available. Simple methods like the fuzzy select tool and color select tool work well for plain backgrounds, while the paths tool and layer masks offer more precision for detailed or complex images.
Beginners can start with simple selection tools to get comfortable with the overall process, while more experienced users can move toward paths and masks for cleaner, more professional results. Each method has its own strengths, so choosing the right one often depends on the type of image you are working with.
The best way to improve is through practice. Try removing backgrounds from a few different types of photos, from simple product shots to more detailed portraits, and compare how each tool performs. Over time, you will develop a better sense of which method works best for your specific editing needs.